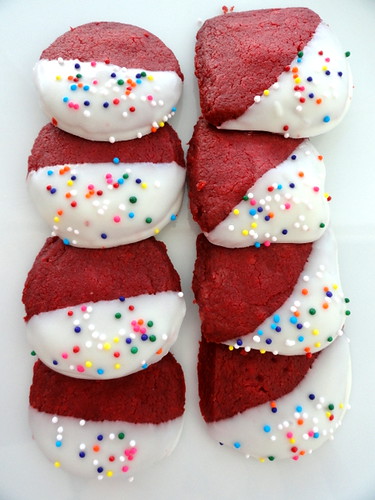
I compared two shortbread base recipes. Here's the breakdown:
Chai Spice

Base recipe: 1 cup butter, 1/2 cup + 2 Tbsp confectioners sugar and 2 cups flour. I made my own Chai spice blend - cardamon, ginger, cinnamon, fennel seed, star anise, a little bit of cloves, black peppercorns and black tea and used a food processor to make the dough.
I didn't care for the texture at all. It was too dry and sandy.
Lemon Rosemary
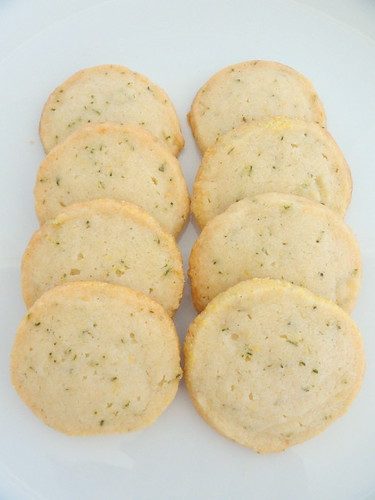
Base recipe: 1 cup butter, 1/2 cup granulated sugar and 1 3/4 cups flour. Using a stand mixer, cream the butter and sugar till light. Add the flour, lemon zest and fresh rosemary. Mix just until a dough forms.
I much prefer the texture of this shortbread. I think the combo of using granulated sugar vs confectioners sugar and a little less flour is a winner.